
Learn Some HTML Coding!
Ever wanted to know how you can make a website like Eligood? Here, I'll explain some of the basics of coding for you.

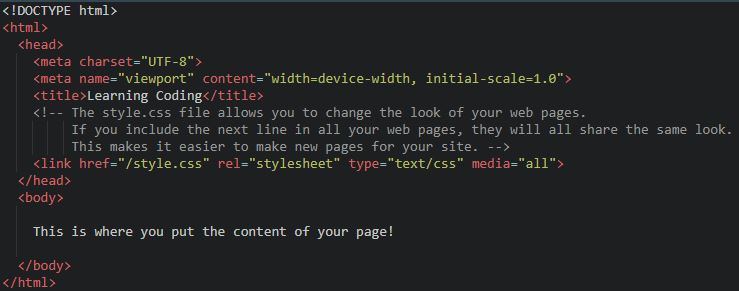
This is the basic "template" that all of your pages will start with. "Title" is where you'll put the name of the webpage, the thing you want to have appear in the "tabs" bar of your browser.
Note: all tags (the things inside of these: <>) must have an end tag to go with them. The end tag looks like this: . So, your code will look like "< tag > blah blah blah < / tag >".
Next, I will teach you how to place an image on your page. Say I want to place this image on my page:

First, I would add the "image" tag:
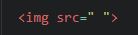
And then I would add a link to the image.

And voilà! My image is here!
Let's style some text! Try these out:
bold text: < b > bold text < / b >
italic text: < i > italic < / i >
underlined text: < u > underlined < / u >
Line breaks and "next line"
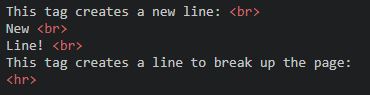
In action, that code looks like this:
This tag creates a new line:
New
Line!
This tag creates a line to break up the page:

How about highlighted text?

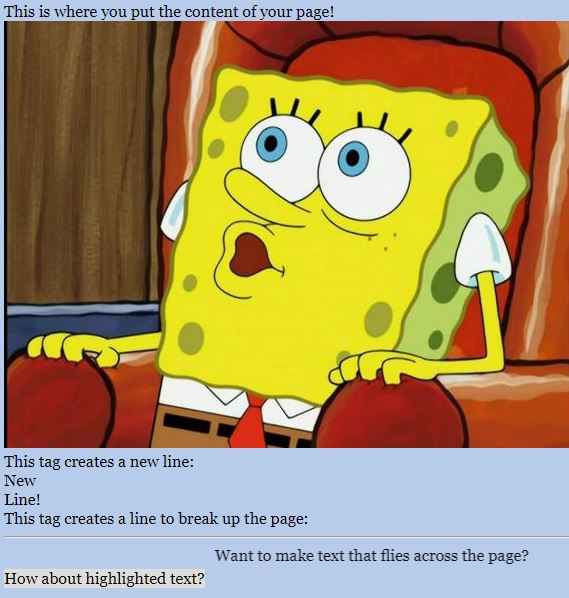
Now that we've got that all squared away, let's see how our example webpage looks:
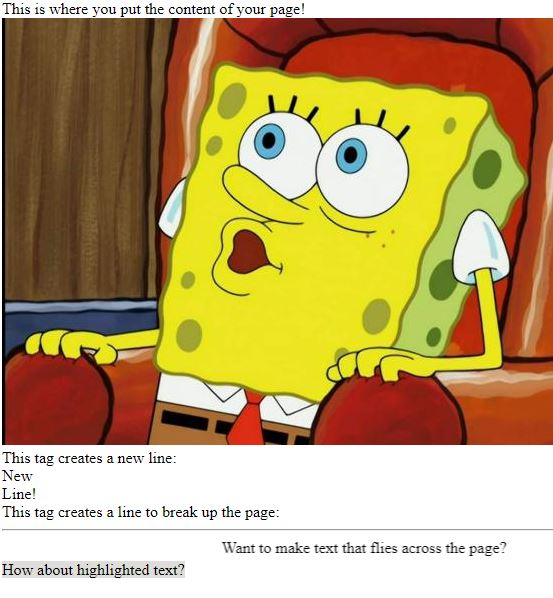
Hmmm.... It's not bad, but it IS a little bland. Let's spice it up!
This is where a handy thing called "CSS" comes in. CSS is the document that contains the code for how your page will look.
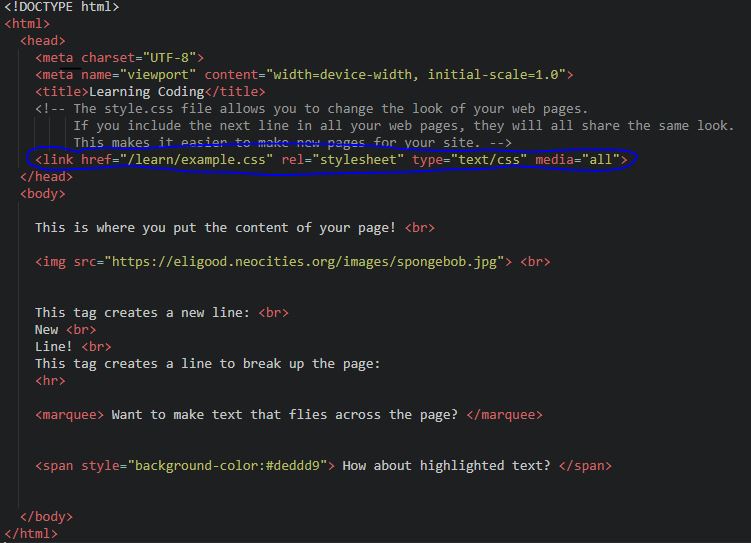
The circled section tells your page to connect to the CSS document.
Over on the CSS doc, we'll start with designing the body of the page:
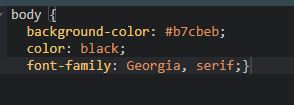
"Background-color" tells your page what color to be. You can use basic color names (blue, purple, red), or hexcodes (#D60270, #9B4F96, #0038A8).
"Color" refers to the color of your text.
"Font-family" assigns what font (Eligood is done in MS Comic Sans!) your text will be.
Now, with just all of that added in, let's see how our example looks:
Much better! See how much easier it is on the eyes?
Let's create a box to hold our text in:
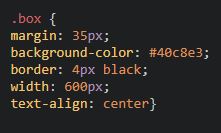
And here's the HTML code that goes with it, back on the other document:

Want to view the final product of all this work? Click here!
Tune in to lesson 2 to learn about links, text alignment, and font size!